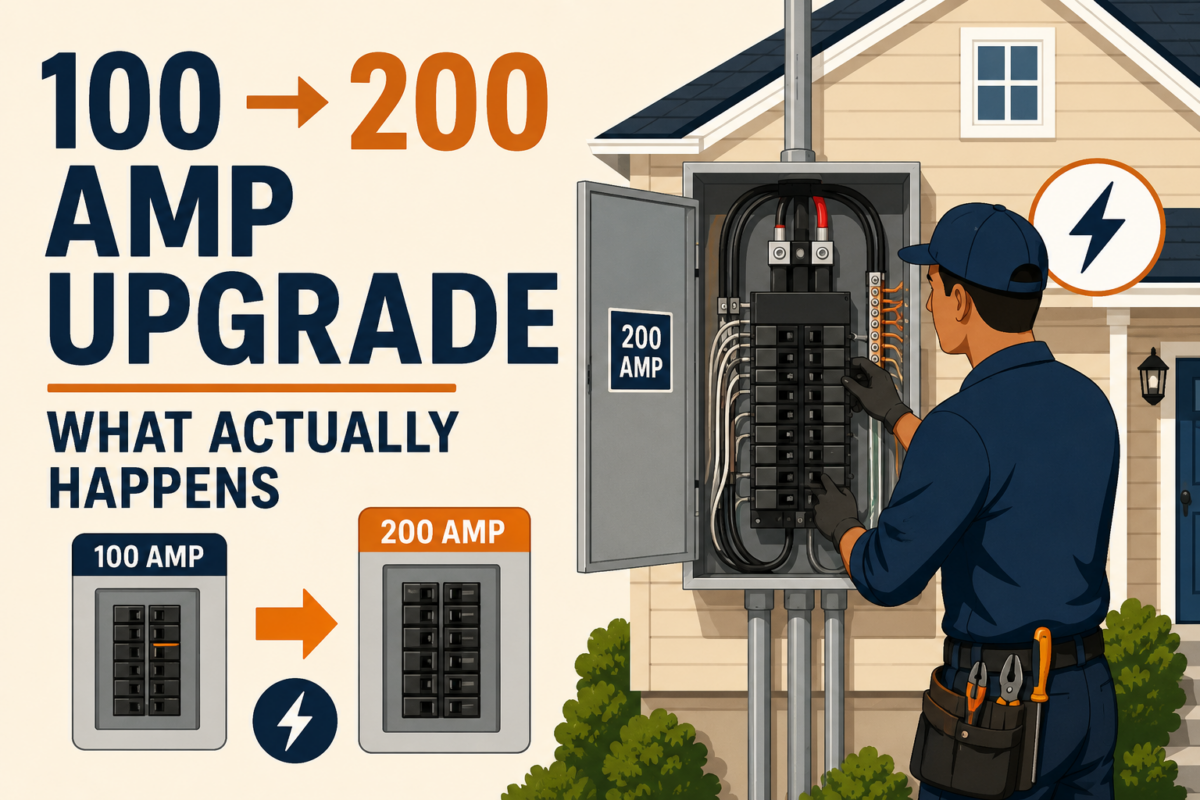
Electrical Panel Upgrade
Real Costs
Hard Lessons
~10 min read
Most homeowners start this project expecting to spend a few thousand dollars and a weekend. What they discover — often after submitting utility applications and pulling permits — is that the real project hasn’t even started yet.
The turning point is a single question: is your electrical service overhead or underground? If it’s underground, you’re not just upgrading a panel. You’re coordinating a civil, electrical, and utility project that involves multiple contractors, city inspections, and a trench running from your meter to the street.
⚠ Reality Check
If your service is underground, expect a total project cost between $37,000–$45,000 and a timeline of 3 to 6 months — not the $3,000–$5,000 panel swap you may have budgeted for.
The Breakdown
Where the money actually goes
The panel itself is one of the cheaper parts. The expensive part is everything around it: trenching, street restoration, concrete work, and conduit. Here’s what a real project looks like, line by line.
| Line item |
Cost |
Scope |
| Private trench |
$5,861 |
~40 ft on your property |
| Public trench |
$11,971 |
~45 ft across street / sidewalk |
| Concrete reconstruction |
$7,971 |
Sidewalk, curb & gutter |
| Asphalt restoration |
$4,986 |
Street resurfacing & overlay |
| Conduit installation |
$5,981 |
~88 ft, utility compliant |
| Construction support |
$625 |
Logistics, porta-potty, misc |
Revised total estimate
$37,395
Up from an initial estimate of $30,789 — a $6,600 increase once conduit and logistics were added to scope.
Key Insight
Initial estimates are rarely complete. Conduit runs, permit bonds, traffic control, and utility-driven changes all get added later. Budget for a 25%–40% buffer on top of any quote you receive.
Step by Step
The process when trenching is involved
This is not a linear project. Steps overlap, inspections create dependencies, and contractor schedules rarely align. That said, here’s the sequence you’ll work through.
⏱ Expect 3–6 months, minimum
01
Utility design & application
Submit your application and pay the engineering fee. The utility defines the trench path — this determines everything downstream.
02
City permits
Provide a site plan, pay any bond or surety required, and get excavation approval. Timeline varies widely by municipality.
03
Contractor coordination
Hire both an electrician and a trenching contractor. Clarify who owns each piece of the scope — overlap and gaps are common.
04
Pre-construction meeting
Get the city inspector, electrician, and trenching contractor aligned before anyone touches the ground.
05
Trenching work
Private trench, public trench, conduit installation. Traffic control and trench plating may be required on public right-of-way.
06
Inspections
Trench, city, and electrical inspections — often in sequence. A failed inspection resets the clock.
07
Surface restoration
Concrete and asphalt must be restored to city spec. This is where costs often surprise homeowners who didn’t budget for public-facing work.
08
Utility connection & meter release
Final inspection, meter release, and service activation. This is the finish line — and it often takes longer to schedule than expected.
Hard-Won Wisdom
Seven lessons from the field
1
Trenching changes everythingUnderground service turns a panel swap into a multi-party construction project. Know which type you have before you plan anything else.
2
The panel is not the main costMost of the money goes into trenching, concrete, asphalt, and restoration. Budget for what surrounds the panel — not the panel itself.
3
Quotes are incomplete by designThe estimate here went from $30K to $37K because conduit and logistics weren’t in the original scope. Always ask: what’s not included?
4
You become the project managerThere’s no GC coordinating the utility, city, electrician, and trenching crew. That’s your job — unless you hire someone specifically to do it.
5
Delays cost moneyQuotes expire. Schedules shift. Costs creep when a project stretches from weeks into months. Start early and move decisively.
6
Always ask what’s missingEvery estimate may exclude permits, bonds, unknown field conditions, restoration work, or utility-driven scope changes. The surprises live in the gaps.
7
Check your curb firstBefore paying anyone to locate sewer and water lines, look at the concrete curb in front of your property. Most cities engrave the locations directly into it.
💡 Free tip worth real money
Cities typically engrave utility locations directly into the curb in front of your property. Before spending money on a locator service, stand in front of your home and look for engraved letters. It takes 30 seconds and can save hundreds of dollars.
|
|
Look for engraved letters on the curb face in front of your property:
S
Sewer line location
W
Water line location
These help you plan the trench path, brief contractors, and avoid costly line strikes.
|
Before You Start
The checklist
|
Planning
✓ Confirm overhead vs. underground
✓ Understand the full scope
✓ Add a 25–40% contingency
|
Utility
✓ Submit utility application early
✓ Pay engineering fee upfront
✓ Review utility design carefully
|
City
✓ Confirm permit requirements
✓ Budget for bond or surety
✓ Prepare a site plan in advance
|
|
Contractors
✓ Hire electrician
✓ Hire trenching contractor
✓ Clarify responsibility boundaries
|
Costs
✓ Review what’s not included
✓ Confirm quote expiry dates
✓ Expect field changes to add cost
|
Execution
✓ Schedule inspections early
✓ Track dependencies across parties
✓ Plan explicitly for delays
|
“If the service is overhead, this really is a simple upgrade. If it’s underground, don’t call an electrician — call a general contractor.”
Field Notes · Home Infrastructure